Showing posts with label costumes. Show all posts

November 4, 2010

Riku Costume


Difficulty: Hard
Time: 40+ hours
Price: About $100

I played Kingdom Hearts II this summer and loved it. I really wanted to be Riku for Halloween, but was a little nervous about tackling the seaming involved in making the vest (especially after I encountering it when I made the Organization Coat). But then I thought about the other two costumes I was considering - Marth with the armor and Balthier with the crazy vest and pants and then I decided it wouldn't be that bad.
The costume itself had some really hard parts (ugh! The vest!), but since it was three different big pieces, it broke up the work.

Alas, I was not able to get a good photo of me in the costume, but I'm planning on doing a legit photoshoot with it as soon as my camera wielding friend and I are not swamped with homework.

One nice thing about Riku's clothes is that they are more or less normal. I was able to base all three sewed pieces off of patterns. I used a generic button up shirt pattern for both the shirt and vest - I just got rid of the darts to make it boy shaped.

Black shirt:
All I did with this was follow the pattern. It was that easy. I wanted to do the zipper accurately, so I bought a second grey zipper and slipped it's pull on. Simple as that.

White Vest:
This was the killer part. I used the same shirt pattern as a guideline, making it a size bigger to go over the undershirt, but I had to do quite a few modifications because of the strange seams and collar. For all the seams, I marked where they would be, cut along the line, and then inserted a two inch thick piece of fabric with half inch seam allowances in. This made the desired one inch seam in the middle of the vest.


Unfortunately, one can see the yellow lining through white fabric, so I had to add an extra white layer in the middle. The zipper was from this shop.

Pants:
I traced a super baggy pair of pants. The pockets were a challenge to put on after the fact, so I would recommend attaching them before assembling the pants. Nothing special here.

Shoes:
I painted a pair of knock-off white Adidas and stole my brother's orange shoe laces.

I was pleasantly mobile in the costume. Here, I am pwning other people at a chopstick race at the Halloween party I wore this to.

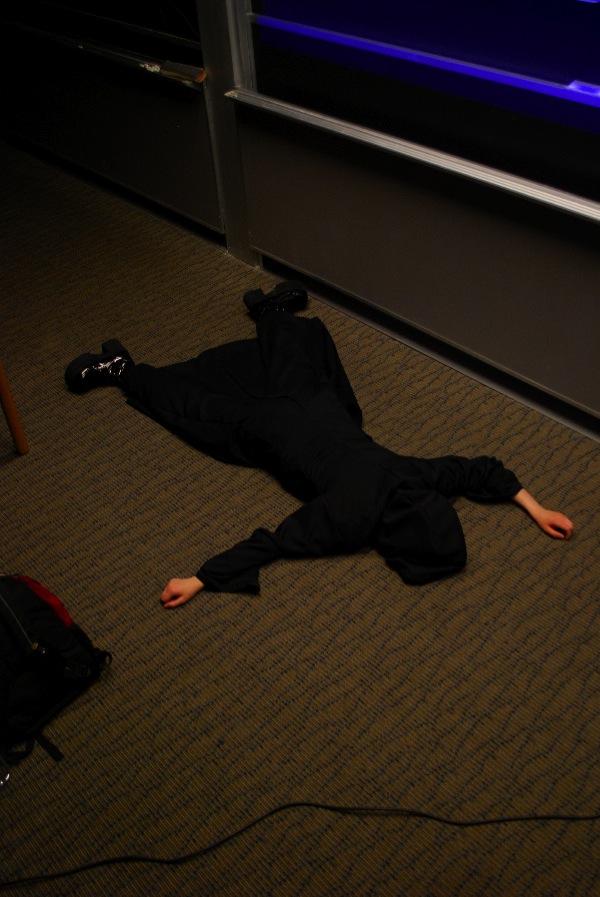
And also wreaking zombie mummy havoc.

May 15, 2010

Organization XIII Coat & Zexion Cosplay


Difficulty:
Hard
Time: 40-50 hours
Price: $60

Organization coats are awesome. However, they are quite a task to actually make – especially without a for-real pattern. There’s some of nasty detail work you could, of course skip, but the end result is pretty awesome with it. And the finished coat looks better than most of the coats you can buy online or at cons. Plus, in the end, your Thermo textbook becomes far more awesome.

I like my cosplay stuff to be functional in the real world, so I decided to make my coat fully lined. This, and n00bishly having to do the double seams twice, added many hours to the making of the coat. However, once it cools down again, I will be wearing this to classes. Yay for campuses where weird is normal. I don’t know what I’ll do when I graduate.

So, I actually don’t have a lot to say about how to make a coat, because another cosplayer has already prepared an amazing tutorial. Same goes for the book - it's just using paint or fabric to turn a book black and applying decals.

I can, however give tips.

1. Make a mock up and tailor it to yourself. That way, your coat fits you like a dream. Also, get friends to help you pin yourself.

2. The double seams are nasty. The best way to do them is to use chalk and draw lines to pin and sew along so your stitching comes out even. Also, sewing from the corner out prevents random bunching of the fabric.

3. Pockets are super fun. They were my favorite part of the coat.

4. Attaching the hood is nasty. I’d suggest finding another pattern for help on attaching a hood instead of free-handing it.

Photos Galore!

Some random notes on supplies: For the hardware on the coat, I had fun at home depot. I used fan pulls for the dangles and browsed the plumbing isle for something that would be a suitable bead – what I wound up using was called a ‘nipple’. The chain was from Micheal’s. The zipper came from here. I used special effects hair dye for my hair.

As for fun Con stories – I’m tall as it is and I had 3.75” boots on with this costume. One person I met at artists alley said it was as if my character had been sent through a taffy machine. I also had fun showing off nasty thermo equations in my book. Too bad it wasn’t for a class I was taking this term – the masquerade line was long, but we got good seats. ^_^

Cosplaying during school is exhausting. Thanks to Omega and Puffin for the photos and to Red for being an extra set of hands during tailoring and for being brave enough to give me the strange haircut.